
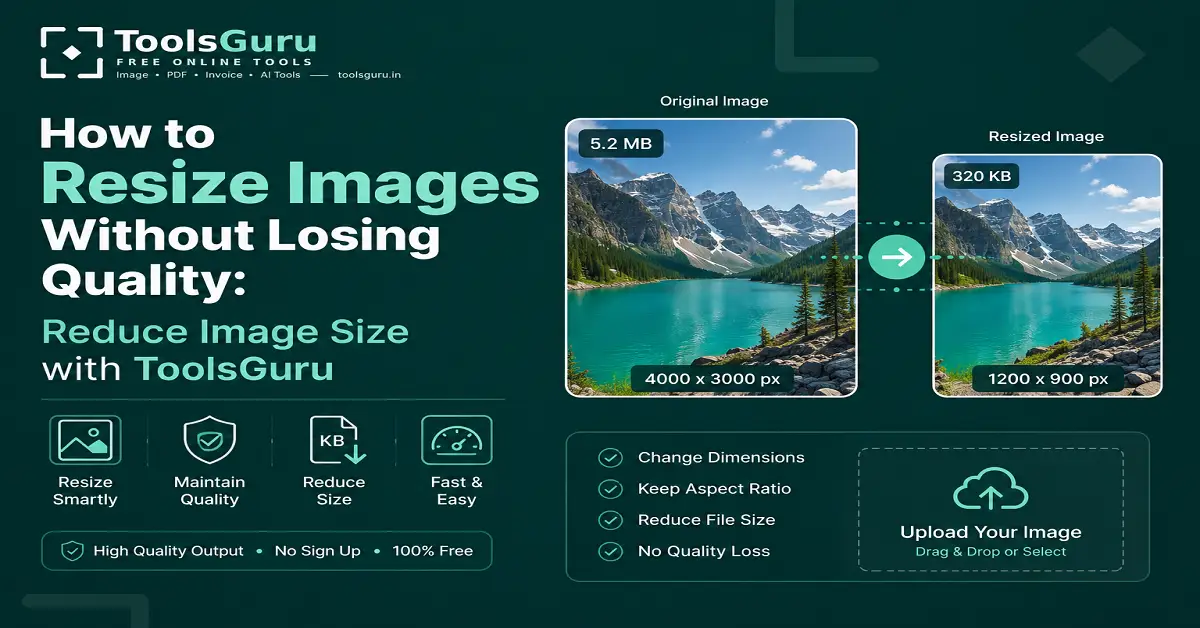
How to Resize Images Without Losing Quality: Nowadays, images are used everywhere—on websites, blogs, social media, online forms, e-commerce platforms, and in documents. However, image file sizes or dimensions are often larger than necessary. In such cases, resizing the image becomes essential.
The problem is that resizing an image often leads to a loss of quality; the image may appear blurry, or fine details and small text can become distorted.
If you want to know how to resize images without losing quality, this guide will show you an easy and practical method. We will also explore the differences between image dimensions, resolution, compression, and image quality.
How to Resize Images Without Losing Quality?
Simply reducing the dimensions is not enough to resize your image without noticeable quality loss; you also need to consider the aspect ratio, resolution, image format, and compression level. Today, we will accomplish this easily using Toolsguru.
- Keep a copy of the original image.
- Determine the width and height as needed.
- Maintain the aspect ratio.
- Choose a high-quality resizing option.
- Do not downsize the image excessively.
- Check the image quality after resizing.
- Compress the image if necessary.
- Save the final image in a suitable format like JPG, PNG, or WebP.
On Toolsguru, you can reduce image size while maintaining quality to a significant extent.
Read Also: You too can convert your image to 100KB here.
What is image resizing?
Image resizing involves changing an image's width and height—that is, its dimensions.
For example, if your image's original dimensions are:
4000 × 3000 pixels
and you resize it to:
1200 × 900 pixels
then the image's dimensions are reduced.
What is the difference between image resizing and image compression?
If you also think that resizing and compressing images are the same, you are mistaken, as they involve different processes.
Image Resize:
- Main objective: Changing width/height
- Dimensions: Change
- Quality: Depends on the resize level
- Example: 3000×2000 → 1200×800
- Usage: Website/social media dimensions
Image Compression
- Primary objective: Reduce file size
- Dimensions: No need to change
- Quality: Depends on the compression level
- Example: 2 MB → 500 KB
- Usage: For uploading/storage
In many situations, it is useful to first resize the image and then compress it to achieve better results.
How to resize images for social media?
Different social media platforms and placements may have their own recommended dimensions. Here are some examples:
- Instagram Square Post - 1080 × 1080 px
- YouTube Thumbnail - 1280 × 720 px
- Facebook Cover - 820 × 312 px
- Website Banner - 1920 × 1080 px
- Blog Featured Image - 1200 × 630 px
How to use an online tool to resize an image?
You can easily resize your images for free using Toolsguru by following these steps.
- First, search for "Toolsguru.in" on Google on your device and open the website.

- Now, Open the Image Resize tools from the menu on the home page and upload the image.

- Now, enter the required or custom social media dimensions and click the 'Resize' button; your image will be resized.

- Now, click the 'Go To Download' button to download it.

JPG, PNG, or WebP – Which format to choose after resizing?
It depends on your image; ToolsGuru allows you to convert images to PNG, JPG, and WebP formats.
- JPG: JPG is a practical option for photographs and general images. It often results in a smaller file size compared to PNG.
- PNG: PNG is useful for logos, graphics, and images with transparency.
- WebP: WebP is a useful image format for modern websites and, in many situations, offers efficient file sizes along with good visual quality.
Benefits of resizing images
Resizing images has benefits in many situations as well.
- Helping to improve website loading speed
- Meeting image upload limits
- Saving storage space
- Preparing images according to social media dimensions
- Reducing email attachment size
- Uploading images to online forms
- Optimizing blog and website images
- Efficiently serving images to mobile users